

Hello friends! If you are planning to start developing Android apps, a good way to start is to install Android Studio. It is not the only IDE with which you can create Android apps, but it is the official and best adapted for the operating system. So, it is ideal for beginner users. In its early days Android Studio was not very different from IntelliJ, on which it is based, and required you to do some sleight of hand by installing Java JDK and the Android IDE separately, recently the process has been simplified and is much easier. In this post, we’ll show you how to install Android Studio on Windows.
Download Android Studio
The first step is to download the installer. It is officially available for Windows, Mac, and Linux, and you will find the download link on its official website. In this case, we are going to focus on the Windows version, although some of these steps will work for the other operating systems. The most advisable is to make sure you are connected to the Wi-Fi network because the download takes about 1 GB, plus the components of Android Studio occupy about 700 MB. Depending on the speed of your Internet connection, it will take more or less time.
Android Developers | Android Studio Downloads
First step
Run the Android Studio installer. Android Studio is an enormously complex tool, but fortunately, its installation is not. There is not much difficulty because on most screens you just need to click Next.

Second step
Then, select the components to be installed and click “Next”. Then you just need to continue following the installation wizard, as the actual process will soon begin.

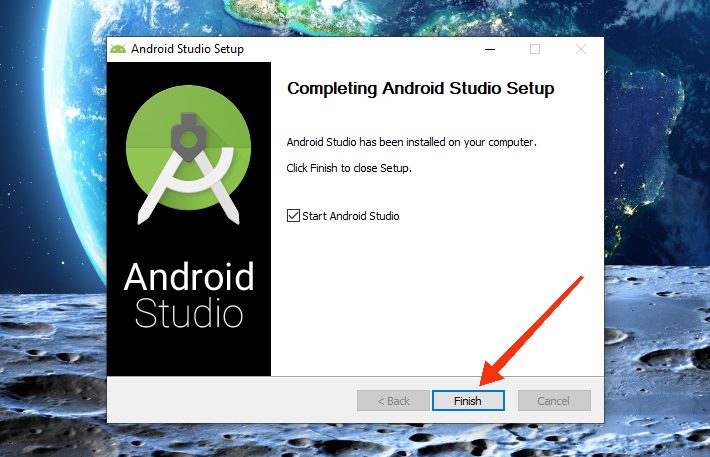
As soon as it finishes, click the “Finish” button so that Android Studio will open for the first time.
Initial Setup of Android Studio
Once Android Studio has started for the first time, you will be shown a window like the one below. It simply asks you if you want to import the configuration from a previous version. Generally, Android Studio will detect the configuration itself, and if you don’t have any previous settings saved it will check “Do not import settings”, just press the “OK” button to continue.

The next window that will appear asks you for permission to send usage data and statistics to Google, to be used to improve the application. It is optional, so accept it with Send usage statistics to Google or not, in this case by clicking Don’t send.

After that, Android Studio asks you whether you want to do a Standard or Custom installation. In the vast majority of cases, the standard installation is sufficient and will save you time and some headaches.

Next, it’s your turn to choose which theme to use in the code editor. There are two default themes: the Light theme and the Darcula theme. Select the one that suits you best, although you can always change it later from the options, as well as customize all the colors and fonts if you wish.

And that’s it! Android Studio is now installed on your system and will show you the welcome screen. From now on, you can create your first “Hello, World!”, on Android Studio, so you only need to click “New Project”. Thanks for reading us. Bye!

