

As you know OpenSUSE is a warranty as an operating system on a server. Since the server is one of the main elements of a network, it is important that the system installed is efficient. In the same way, in this server, there could be many different applications and services. One of them is the GLPI this software that allows having controlled your computer park. So, in this post, you will learn how to install GLPI on OpenSUSE 15.2.
Install GLPI on OpenSUSE 15.2
1.- Install LAMP on OpenSUSE 15.2
As it is well known, GLPI is a web application created with PHP. Therefore, it is necessary to have a web server configured that can “serve” the application.
On the other hand, the application also requires a database manager to store all the necessary information.
Therefore, you need to have a LAMP server in OpenSUSE 15. Luckily, we have a post that talks about it
How to install LAMP on OpenSUSE 15.2 / 15.1?
Also, you need to install these PHP modules:
php7-ldap php7-opcache php7-APCu php7-xmlrpc php7-exif php7-fileinfo php7-zlib
Now you can continue.
2.- Creating a new database for GLPI
The next step is to create a new database and user for GLPI. This is necessary as a security measure and to assist in the configuration of GLPI.
So access the MariaDB console as follows:
:~$ sudo mysql -u root -p
And start creating the database and the new user. As well as the necessary permissions on it.
> CREATE DATABASE glpidb;
> GRANT ALL PRIVILEGES ON glpidb.* TO 'glpiuser'@'localhost' IDENTIFIED BY 'password';
> FLUSH PRIVILEGES;
> EXIT;

Now, we can download GLPI.
3.- Download and install GLPI on OpenSUSE 15.2
The download of GLPI can be done with the wget command. And at the moment of writing this tutorial, the last stable version is 9.4.5.
Most probably you already have wget installed, but it’s always good to be sure:
:~$ sudo zypper in wget
And now, yes, we proceed to start the download:
:~$ cd /tmp/
:~$ wget -c https://github.com/glpi-project/glpi/releases/download/9.4.5/glpi-9.4.5.tgz
Once the download is complete, we proceed to decompress the file.
:~$ tar -xvf glpi-9.4.5.tgz
Then, the generated folder must be moved to the Apache root directory in OpenSUSE. And then, assign permissions to it and indicate that the owner of that folder is Apache.
:~$ sudo mv glpi /srv/www/htdocs/
:~$ sudo chmod 755 -R /srv/www/htdocs/glpi
:~$ sudo chown -R wwwrun:www /srv/www/htdocs/glpi
Now, a new VirtualHost has to be created to handle the running of GLPI. To do this, create a new configuration file:
:~$ sudo nano /etc/apache2/conf.d/glpi.conf
And add the following:
<VirtualHost *:80>
   ServerAdmin admin@your_domain.com
   DocumentRoot "/srv/www/htdocs/glpi"
   ServerName glpi.osradar.opensuse

  <Directory "/srv/www/htdocs/glpi">
      Options FollowSymlinks
      AllowOverride All
      Require all granted
  </Directory>
</VirtualHost>

Save the changes and close the file. Remember that the domain data has to be changed. I am using glpi.osradar.opensuse as an example.
Then, enable the PHP rewrite module and restart Apache.
:~$ sudo a2enmod rewrite
:~$ sudo systemctl restart apache2
Now, complete the installation using the web interface.
4.- Install GLPI on OpenSUSE 15.2 (II)
Now all you have to do is open the web browser you want and access the server name you set up on the VirtualHost and complete the installation. In my case glpi.osradar.opensuse and you will see the following:

Choose the language of the installation and click on the Ok button. Then, you will see the license terms.

By accepting the license terms, you can choose whether to do an installation from 0 or an upgrade. In this case, it is an installation from 0 so click on the Install button.

On the next screen, the installer will scan the server to make sure everything is OK. Some extensions may be missing and you will be marked with an alert, but if they are mandatory, they will be shown in red. Then click on Continue.

Then, on the next screen, you will have to write the credentials for the connection to the database, previously created.

The installer will make a test connection. If it is successful, you will see the following screen where you need to choose the database created previously.

If everything went well with the database, you will see this image.

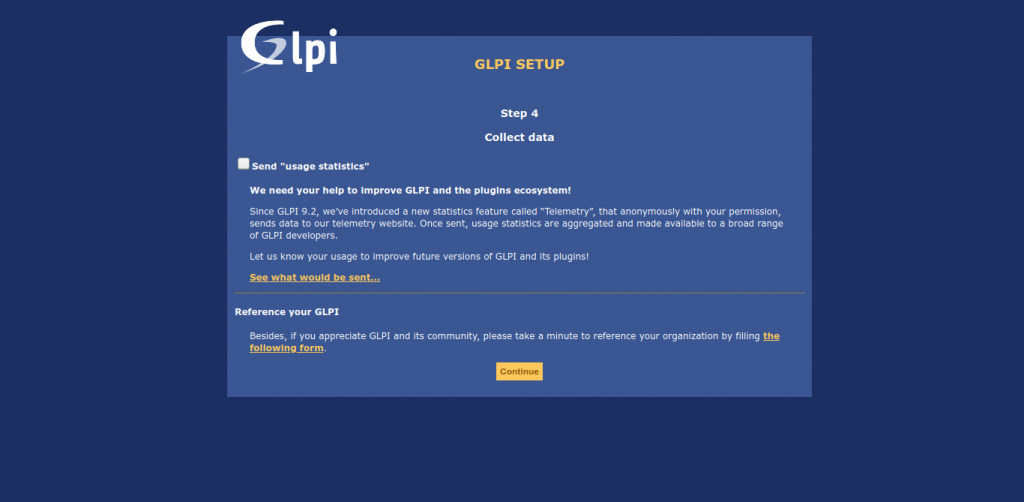
Then the installer will ask us if we want to send usage statistics to the development team.
Then, you will see several more installation screens. And in the end you will see one with the default users and passwords.
After that, you will see the Log in screen.

In this case, we will access the administrator user that is glpi and the password is glpi.
Finally, you will see the dashboard.

So, that is it. You can start changing the default password.
Enjoy it.
Conclusion
In this post, you have learned to install GLPI on OpenSUSE 15.2. GLPI is an application to control the informatics equipment of your company. It is an administrative tool, more than anything. It is created in PHP and uses MariaDB as a database manager.
Please share this post with your friends. And join our Telegram channel.
