

Hello, friends. In this post, you will learn how to install Floxlor on Debian 10.
Floxlor is an open-source Server Management Panel made by many professionals in the field that is outstanding but complete.
The main characteristic of Floxlor is that it simplifies the effort of managing your hosting platform. So we can quickly use it for our purpose.
Some characteristics of the application are the following:
- Choose per domain which IPv4 and/or IPv6 addresses and which ports should be used.
- Integration with Let’s Encrypt. Use free certificates from Let’s Encrypt directly from within froxlor.
- Style froxlor by overwriting the basis CSS or create your own complete theme. This means that it is completely customisable.
- Includes traffic graphics by resource and client.
And many more. Best of all, we can examine your source code for bugs and other situations.
Install Floxlor on Debian 10
The installation process of Floxlor is quite simple considering the large capacity of the application. However, we have to perform some operations before.
Note: for this post, we will use the root user.
1.- Preparing MariaDB on Debian 10
The first thing we have to do is install the relational database manager used by Floxlor which is MariaDB.
So, you can read more about how to install MariaDB on Debian 10 with this post
How to install MariaDB 10.4 on Debian 10?
After it is installed and configured, you have to create a new database, user, and grant permissions.
mysql -u root -p
CREATE DATABASE floxlor;
GRANT ALL PRIVILEGES ON floxlor.* TO 'floxloruser'@'localhost' IDENTIFIED BY 'floxlorpss';
FLUSH PRIVILEGES;
Then, modify a parameter corresponding to the root password.
ALTER USER 'root'@'localhost' IDENTIFIED VIA mysql_native_password;
And in the same way, you can assign a new key to the root user.
ALTER USER 'root'@'localhost' IDENTIFIED BY "password'';
And finally, get out of the MariaDB shell.
exit;
Remember to replace “password” with a strong password you have defined.
2.- Install Floxlor on Debian 10
The installation of Floxlor is greatly facilitated by the repository that the developers make available to us.
First, install some packages needed to add the Floxlor repository.
apt install apt-transport-https gnupg
After this, add the GPG key from the repository.
wget -O - https://deb.froxlor.org/froxlor.gpg | apt-key add -
Now add the repository to the system:
echo "deb https://deb.froxlor.org/debian buster main" > /etc/apt/sources.list.d/froxlor.list
Then, refresh APT to implement the changes:
apt update
Then you can install Floxlor:
apt install froxlor
Once the installation of the package is complete a small change in the Apache configuration must be made.
nano /etc/apache2/sites-enabled/000-default.conf
So, find the line:
DocumentRoot /var/www/html
After that, change it for:
DocumentRoot /var/www/

Then, save the changes and close the editor.
Now you need to secure Apache with Let’s Encrypt. Install the necessary packages.
apt install certbot python3-certbot-apache
And install the certificate by executing the following command
certbot --apache -d [your-domain]
Remember that for this process to be completed successfully, you need to have a valid domain name.
Finally, apply the changes by restarting Apache
systemctl restart apache2
Now we can complete the installation from the web interface.
3.- Complete the installation of Floxlor
Now open a web browser and go to https://your-domain/floxlor/ and you will see the welcome screen.

Next, the installer will verify that you meet the program’s requirements

Then configure the database connection and change the language to your own. In this step, you have to set the password of the regular MariaDB user as the root user together with their passwords. Also, you will have to create an administrator account.

Afterward, you will receive a message indicating that Floxlor has been installed properly.

You will then be able to access the login screen.

Login with your created credentials.

The first thing that will call your attention is a message indicating that the system is not yet configured. Click on the message.

You can make the configuration from the graphical interface or by executing the command provided below.
In my case, I have chosen the command way.
There will be several questions related to the system. And you will be able to install the missing packages but everything automatically after answering those questions.
At the end, you will see a screen output similar to this one.

And then, if you refresh Floxlor, the message will disappear and you can start using it.
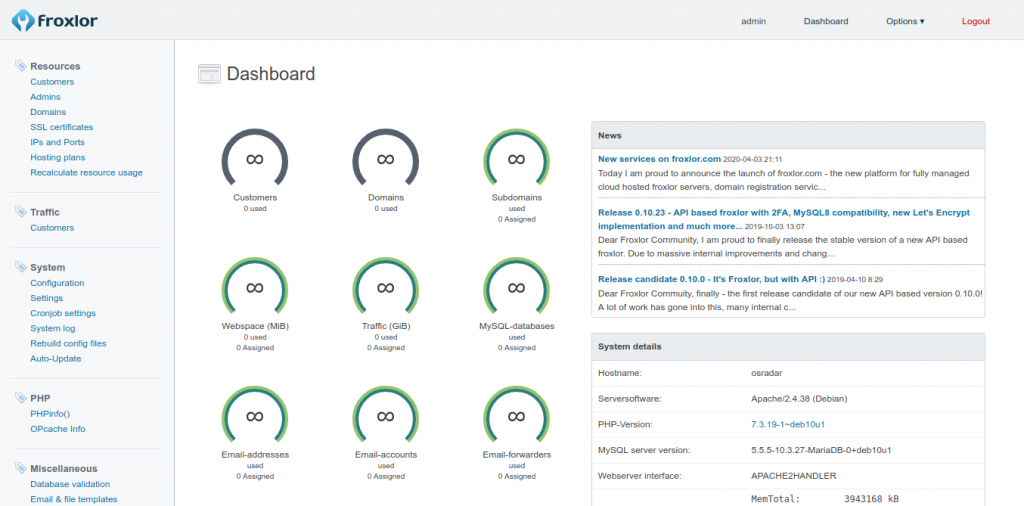
So, enjoy it.
Conclusion
Debian 10 is used by many servers around the world so it is good to learn how to install the tools that can help you administer it. There arises Floxlor that you have learned how to install it thanks to this post.
