

Developers should use all kinds of tools to speed up their daily work. This allows them to be more productive and thus create more and better applications. On the other hand, many of these tools are not found by default in the main repositories of the distribution and this means that we have to resort to other forms of installation. So, the benefit that these tools bring compensates the installation effort. Especially when we are manipulating application data that can be all kinds of information. That’s why, in this post, we will show you how to install pgAdmin4 on Ubuntu 19.04.
pgAdmin is the most popular and features rich Open Source administration and development platform for PostgreSQL, the most advanced Open Source database in the world.
Thanks to this application, you can have a graphical interface to manage everything related to PostgreSQL. The main advantage of this program is the ability to view all the records we have stored. On the other hand, we can create connections and customize them to achieve even more security. It is also possible to create, modify and delete databases.
So, pgAdmin4 becomes a printable application if you use a lot of PostgreSQL or if you want to use it for educational purposes.
So, let us install pgAdmin4 on Ubuntu 19.04.
Install pgAdmin4 on Ubuntu 19.04
To install pgAdmin4 on Ubuntu 19.04, it is recommended to use the PostgreSQL repository. With this, we can also have a higher version of this database manager.
So open your terminal, and run the following command to install some necessary packages.
:~$ sudo apt-get install wget ca-certificates
Next, add the GPG key for the repository.
:~$ wget --quiet -O - https://www.postgresql.org/media/keys/ACCC4CF8.asc | sudo apt-key add -
Next, add the repository:
:~$ sudo sh -c 'echo "deb http://apt.postgresql.org/pub/repos/apt/ `lsb_release -cs`-pgdg main" >> /etc/apt/sources.list.d/pgdg.list'

Then, install pgAdmin4.
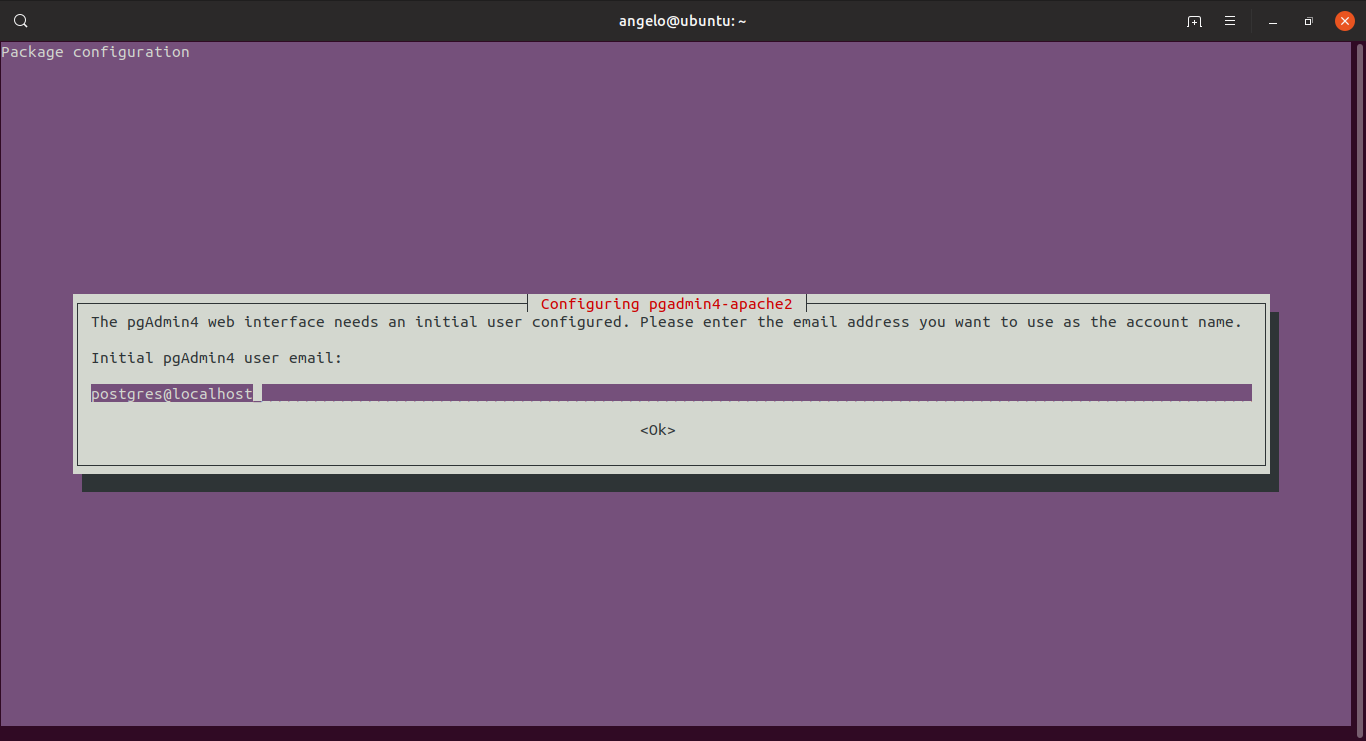
:~$ sudo apt-get update
:~$ sudo apt install pgadmin4 pgadmin4-apache2

After that, you will be asked for the initial pgAdmin4 user email and for the administrator password.

Configure pgAdmin4
Now, open your trusted web browser and go to pgAdmin with the following address http://your-server/pgadmin4

Next, add a new server.

And configure it.

And that’s it.
Conclusion
pgAdmin4 is a vital tool to manipulate PostgreSQL visually and very easily. Its potentials are vast and it is recommended that you visit the project website to learn more about it.
Please share this post with your friends.

i had to follow this for the install to be completely successful
thank you for the tutorial!!!
Everything works fine, until I want to save the server settings (step 7).
Then I get:
Unable to connect to server:
could not connect to server: Connection refused
Is the server running on host “localhost” (127.0.0.1) and accepting
TCP/IP connections on port 5432?
How could I fix it?
Excellent tutorial
Thanks!