

Hello! Today, we will learn how to enable the guest account in Windows 11. Mainly, it has changed the graphical interface as well as the configuration menu. Actually, some of these changes are positive. In addition, the aesthetic innovations are welcome. However, some functionalities seem to be hidden. Consequently, it is difficult for users to get them. In particular, we will focus on enabling the guest account in Windows 11. Stay tuned to learn how to do it.
What is a guest account?
First, let’s conceptualize what a guest account is. A guest account is an account to allow people to use our computer in a limited way. In this way, we only authorize access to the browser and a few other applications. In addition, by managing the guest account, we can block access to hard disks. Consequently, these users will not be able to access or delete our files. Additionally, they will not be able to install any applications on the computer or make any changes to the system.

The guest account is a temporary profile. Consequently, the user will be able to use this profile until the computer is shut down. After the computer has been shut down, the profile will be deleted along with the data in it. As you can see, this is a necessary utility for some cases. So, once we have defined what a guest account is and what it is for, we will then unveil the different methods to enable it in Windows 11.
How to activate the guest account in Windows 11
Let’s see how to enable the guest account in Windows 11 quickly and easily. With this in mind, we will perform a search from the Windows 11 start menu. To accomplish this, press the Win+Q combination and in the magnifying glass corresponding to the search, please enter the term netplwiz. After the result appears, click on it with the mouse. Alternatively, you can press Win+R and run the netplwiz command directly.


This command corresponds to the management of system user accounts. Consequently, when it is opened, the window for editing it is displayed. From this menu, we can grant or deny user access to our computer. We can also change passwords and other updates. Just below the main frame, there are three buttons. Please click on Add.

A blue window is displayed. This window indicates how we are going to log in. Please leave the e-mail address field blank. Instead, scroll down to the bottom and click on Sign in without a Microsoft account (not recommended).

Continuing with the process of adding a user, the wizard displays the features of the Microsoft account and the local account. Consequently, just click on Local Account.

In the next window, you have to enter the credentials of the new account. Namely, username, password, and password hint.

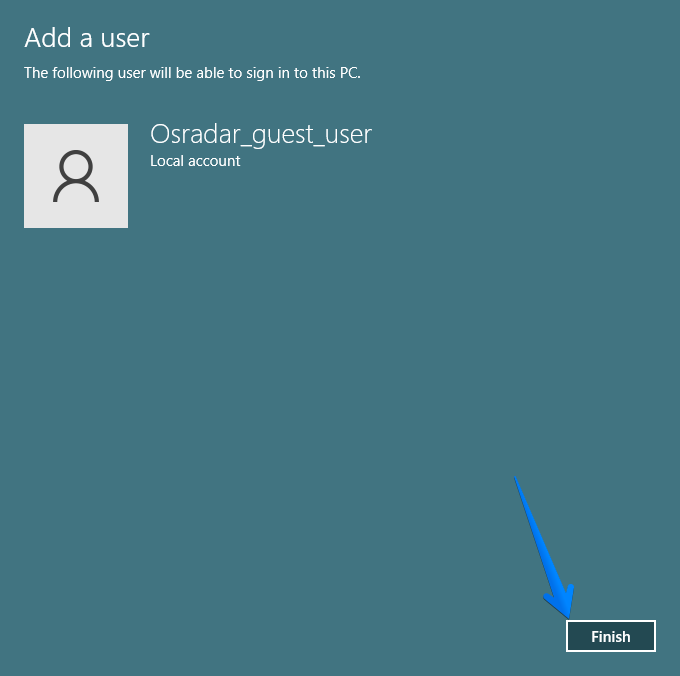
Once the user has been created, you only have to complete the process by clicking on Finish.
Setting up the guest account
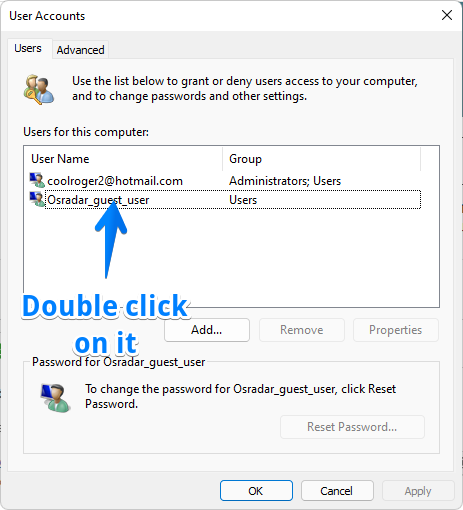
Back to the initial window, you can see that the account we have just created has already been added. Consequently, you should double-click on it.
In this new window, we see two tabs called Groups and Group Membership. Please click on Group membership. Then scroll down and click on Other. This action allows you to display the options corresponding to the type of users. In consequence, please find and select Guests. Finally, click Apply and then OK to set the changes.

You will again be redirected to the user account management window. Please click OK to complete the task.

How to stop guest accounts from accessing our hard drives.
We have taken the first step by creating the guest account. However, we are now going to limit your access to the computer’s hard disks. This way, they will not be able to see or modify what is inside them. With this in mind, you must access the file explorer. With this intention, press the Win+E combination. Once there, please log in to This PC. Then right-click on the hard disk. Now click on Properties. Please remember to repeat this process for all disks in the computer.

As a result, a window with several tabs will pop up. Therefore, you have to select the Security tab. Then click on Edit.

In the next window, please click on Add.

Next, please enter the name of the user account we recently created. When you are finished, please click OK.

Editing permissions
Back to the previous window, you can see the guest account along with its permissions. These permissions are: modify, full control, read and execute, show folder contents, etc. Please select all permissions you wish to deny. Once you have checked all of them in the Deny column, please click Apply and then OK.

It is possible that during the process, some pop-up windows may appear. Please press OK on all of them. However, it is also possible that you will be warned of a permission’s denial error. Please disregard this warning. In fact, just close the windows. Back in the users window, you can check that the guest user account has been edited correctly.

In this way, we will limit the access of a third party to our hard disk. A measure to complement the privacy of our system. Very well, in last instance we have seen how to enable the Windows 11 guest account. Bye!
