
Hello! Safety is an issue to be taken very seriously. Therefore, Windows has several tools to ensure it. Indeed, the system has its own integrated security suite. But it also includes a complete and customizable Firewall. On the other hand, Windows manages these functions through a graphical interface. In fact, we have explained it here. However, today we will look at another way. For this, we will use the command line. Read on to find out how to configure Windows Firewall using PowerShell.
Configuring Windows Firewall from PowerShell
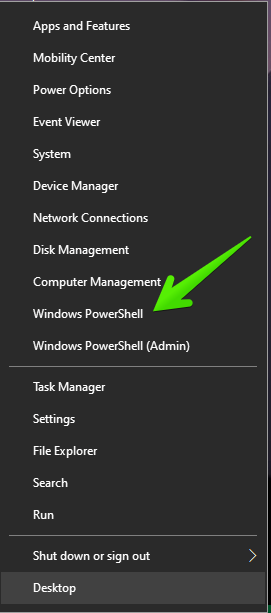
The first thing you need to know is that Windows incorporates a module called NetSecurity. In addition, it allows you to add, delete and modify Firewall rules. However, the first thing we will do is to open PowerShell. You can do this from the Start menu. Or by pressing the Win+X combination.
Listing the rules available for Windows Firewall
Once in the PowerShell, it is necessary to load the NetSecurity module. Consequently, we have to import it. With this in mind, run the following command:
Import-Module -Name 'NetSecurity'

Well, the module is now loaded into the system. Now we are going to obtain a list of available commands. Please note that there are a lot of them to use. So it depends on the needs of each user. To see a list of all existing FireWall rules, please use the following command:
Get-NetFirewallRule
However, we have commented that there are many rules. But we can refine the search. For example, to see the first 10 rules:
Get-NetFirewallRule | Select-Object DisplayName, Enabled, Direction, Action -First 10

Creating a new rule for FireWall
You may need a new custom rule of your own. A great solution for users who want to protect the system to the maximum. In any case, please use the following syntax:
Net-NewFirewallRule
In addition, there are some variables to consider. These are added to make the command work correctly:
- DisplayName: refers to the custom name of the new Firewall rule.
- Direction: URL from which we want to block the traffic leaving the computer or arriving at us.
- Action: the action to be taken if the rule is satisfied, i.e. Allow or Block. So we use the parameters Allow and Block.
How to modify an existing rule
Sometimes it is necessary to modify a rule without having to delete it completely. For this work, the same parameters must be taken into account as for the creation. That is, DisplayName, Direction, and Action. These will be used to set the new behavior of the rule. In addition, this command can operate on multiple rules at the same time. With this in mind, we will use the following syntax.
Set-NetFirewallRule
Delete an existing Firewall rule
Finally, we will see how to delete an existing Firewall rule. Once it is no longer needed. Of course, we can also do it from PowerShell. Therefore, just use the following syntax:
Remove-NetFirewallRule
Please remember to attach the name of the specific rule to be deleted. Otherwise, you will delete all the rules present. This will leave the system in a state of insecurity. Okay, so we have seen how to configure Windows Firewall with PowerShell. So if you prefer the command line, this is your preferred option. See you soon!
