

Hello, friends in this post. We’ll learn how to install Linux Dash on Ubuntu 20.04 This basic monitoring tool is ideal for home servers where you need to get information about your computer’s performance but without sacrificing resources.
A server administrator must be aware of the processes that take place on it, its performance as well as the behavior it has when performing the tasks for which it was installed; all this without sacrificing valuable computer resources, that is, maximum efficiency is required.
Linux-Dash is a great web-based monitoring tool that allows you to visualize the behavior of your server in real time, without sacrificing resources. The requirements for its execution are really few: PHP to be interpreted, Apache to be accessed from the web and git, if you want to clone your project from GitHub.
Installing Linux Dash on Ubuntu 20.04
Before installing Linux Dash, it is a good idea to perform a general system update. This increases the stability of the system, but also prepares the system for downloading packages.
:~$ sudo apt update
:~$ sudo apt upgrade
Now we can move on.
1.- Install some required packages
To install and run Linux Dash, some previous packages are required. These packages are in the official Ubuntu repositories, so installing them is not a big deal.
:~$ sudo apt install wget unzip git apache2 php7.4 php7.4-json libapache2-mod-php7.4
apache2-bin apache2-data apache2-utils libapr1 libaprutil1 libaprutil1-dbd-sqlite3 libaprutil1-ldap libjansson4 liblua5.2-0 php-common php7.4-cli php7.4-common
php7.4-opcache php7.4-readline ssl-cert
Suggested packages:
apache2-doc apache2-suexec-pristine | apache2-suexec-custom www-browser php-pear openssl-blacklist zip
The following NEW packages will be installed:
apache2 apache2-bin apache2-data apache2-utils libapache2-mod-php7.4 libapr1 libaprutil1 libaprutil1-dbd-sqlite3 libaprutil1-ldap libjansson4 liblua5.2-0 php-common
php7.4 php7.4-cli php7.4-common php7.4-json php7.4-opcache php7.4-readline ssl-cert unzip
0 upgraded, 20 newly installed, 0 to remove and 0 not upgraded.
Need to get 6048 kB of archives.
After this operation, 26.6 MB of additional disk space will be used.
Do you want to continue? [Y/n]

These packages include Apache and PHP which are the basis for running Linux Dash as it is a web-based application.
2.- Download and install Linux Dash on Ubuntu 20.04
The next step is to clone the Linux Dash repository. To do this we will use Git. This process guarantees that you have the latest stable version of the application.
:~$ git clone https://github.com/afaqurk/linux-dash.git
Cloning into 'linux-dash'…
remote: Enumerating objects: 3, done.
remote: Counting objects: 100% (3/3), done.
remote: Compressing objects: 100% (3/3), done.
remote: Total 4520 (delta 0), reused 0 (delta 0), pack-reused 4517
Receiving objects: 100% (4520/4520), 4.58 MiB | 20.00 KiB/s, done.
Resolving deltas: 100% (2670/2670), done.

In any case, the application is quite light and achieves the objective set in an efficient way. So updating this program will not take long.
When the cloning of the repository is finished, a folder called linux-dash will be generated. This folder has to be moved to the Apache root directory.
:~$ sudo mv linux-dash/ /var/www/html/
In order for Linux Dash to run smoothly and have access to system resources, it is necessary to change the owner of the folder to www-data which is Apache.
:~$ sudo chown -R www-data:www-data /var/www/html/linux-dash/
Now make sure that the PHP functions shell_exec and exec are enabled.
To do this, open the file /etc/php/7.4/apache2/php.ini
:~$ sudo nano /etc/php/7.4/apache2/php.ini
Press CTRL + W to enable searching the file. Type disable_functions and press ENTER. This will take you directly to the line:
disable_functions = pcntl_alarm,pcntl_fork,pcntl_waitpid,pcntl_wait,pcntl_wifexited,pcntl_wifstopped,pcntl_wifsignaled,pcntl_wifcontinued,pcntl_wexitstatus,pcntl_wte
rms
If the shell_exec and exec modules are in that line, just delete them, save the changes and close the file.
In my case, they were not there so I just closed the file.
So, to apply any changes you may have made, just restart Apache.
:~$ sudo systemct restart apache2
Finally, now we can run Linux Dash.
3.- Using Linux Dash
Once Linux Dash is installed, we can run it through the web interface.
So, open a web browser and go to the following address http://[your-pc-ip-or-domain]/linux-dash
In my case, I accessed with the following address http://192.168.250/linux-dash
And there the main screen of Linux Dash will be displayed with information about the computer.

As you can see, it is very presented in blocks that make it fast and easy to understand.
Also, you can navigate through the tabs to show even more information. For example, this is what the Basic Info tab looks like.

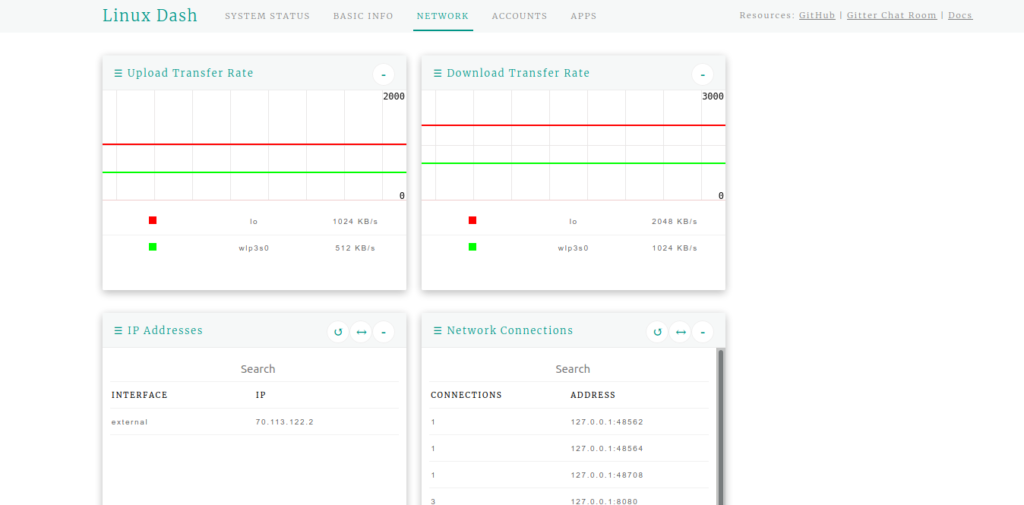
Another interesting aspect is that you can get information about the network traffic that the computer has. Quite useful in many circumstances.
So, it is a basic tool but very useful and ideal for home servers or even some production servers where it is required.
Enjoy it.
Conclusion
In this post you have learned how to install Linux Dash on Ubuntu 20.04 as you have seen is a basic monitoring tool but very interesting. So, it’s ideal for test servers or even personal computers.
So, share this post and join our Telegram Channel.
